Move the Radiator
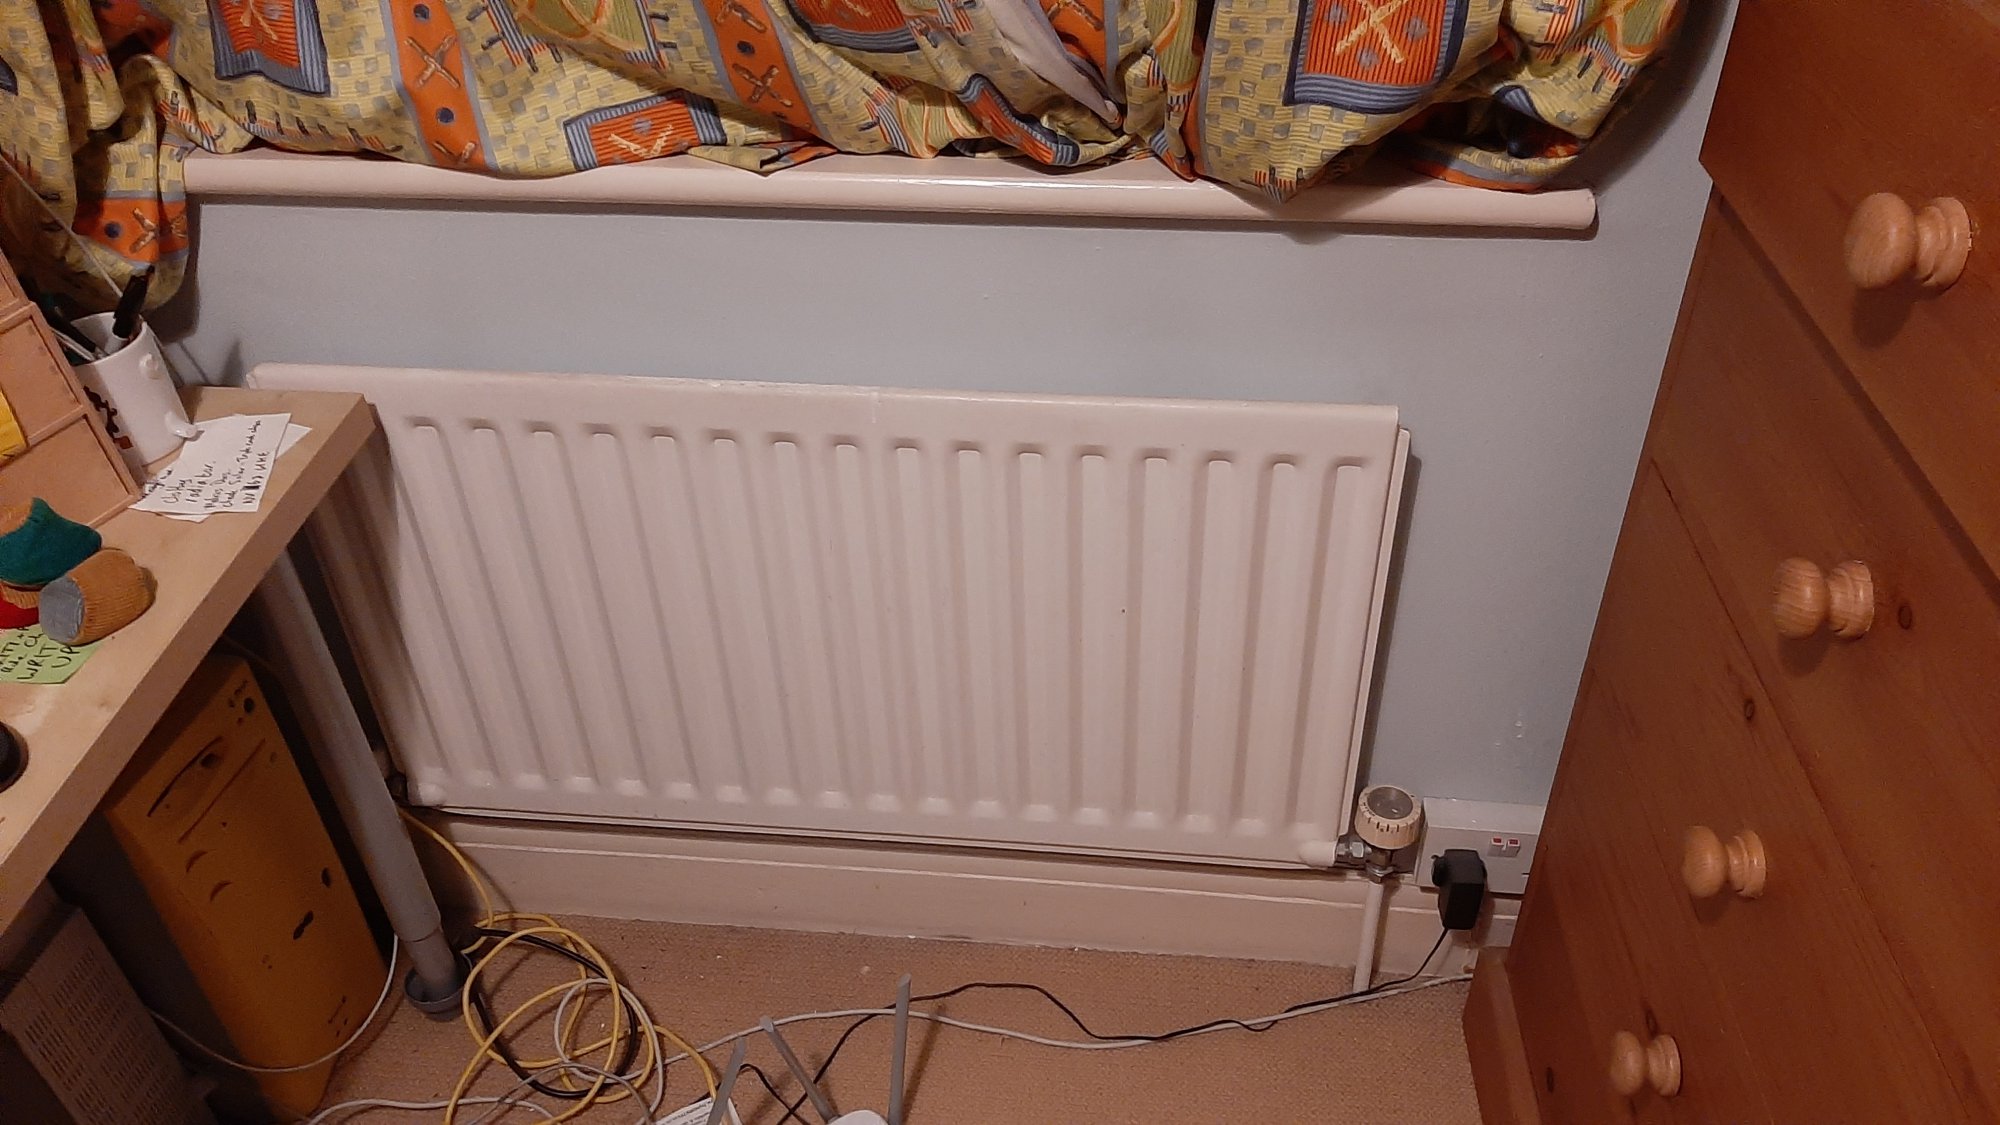
We had a new radiator installed on the opposite wall to the old one, here’s how (and why).
Why move the radiator at all?
The poorest part of the insulation in the study is the window. Even with new glass, the double-glazing will end up with a u-value of about 1.1, compared to the rest of the exterior walls, with a u-value of about 0.22 (remember lower is better, meaning less heat loss). Heat obviously leaks through the poorest insulation fastest. It’s also fairly intuitive that the heat leaks through in proportion to the temperature difference between either side. Marginally less intuitive is the idea that you want to reduce the temperature on the inside of the window to minimise this loss.
A different way of thinking about it is like this: the room will never be perfectly even in temperature, there will be gradients and convection currents moving warmer and cooler air around. With the radiator under the window, the very warmest part of the room is right beneath the very weakest part of the insulation. What’s worse, is that convection will tend to create a rising column of warmer air travelling upwards from the radiator, straight under the curtains and into the window surround. This results in pretty much the maximum temperature difference between inside and outside the window, and therefore the maximum possible wasted heat leaking out of the room.
So what to do about it? If you want a short term fix, good lined curtains and a windowsill that overhangs the radiator will help divert the rising column of warm air outside of the window reveal. And before I insulated the study I used to tuck the curtains onto the windowsill overnight for exactly this reason.
The gold-plated solution is to move the radiator away from the window, and for the study this is what we’ve done. The result is brilliant, but the cost was very high and I’d probably do it differently next time. Here’s the process we followed:
Prep the room and Move the old pipes
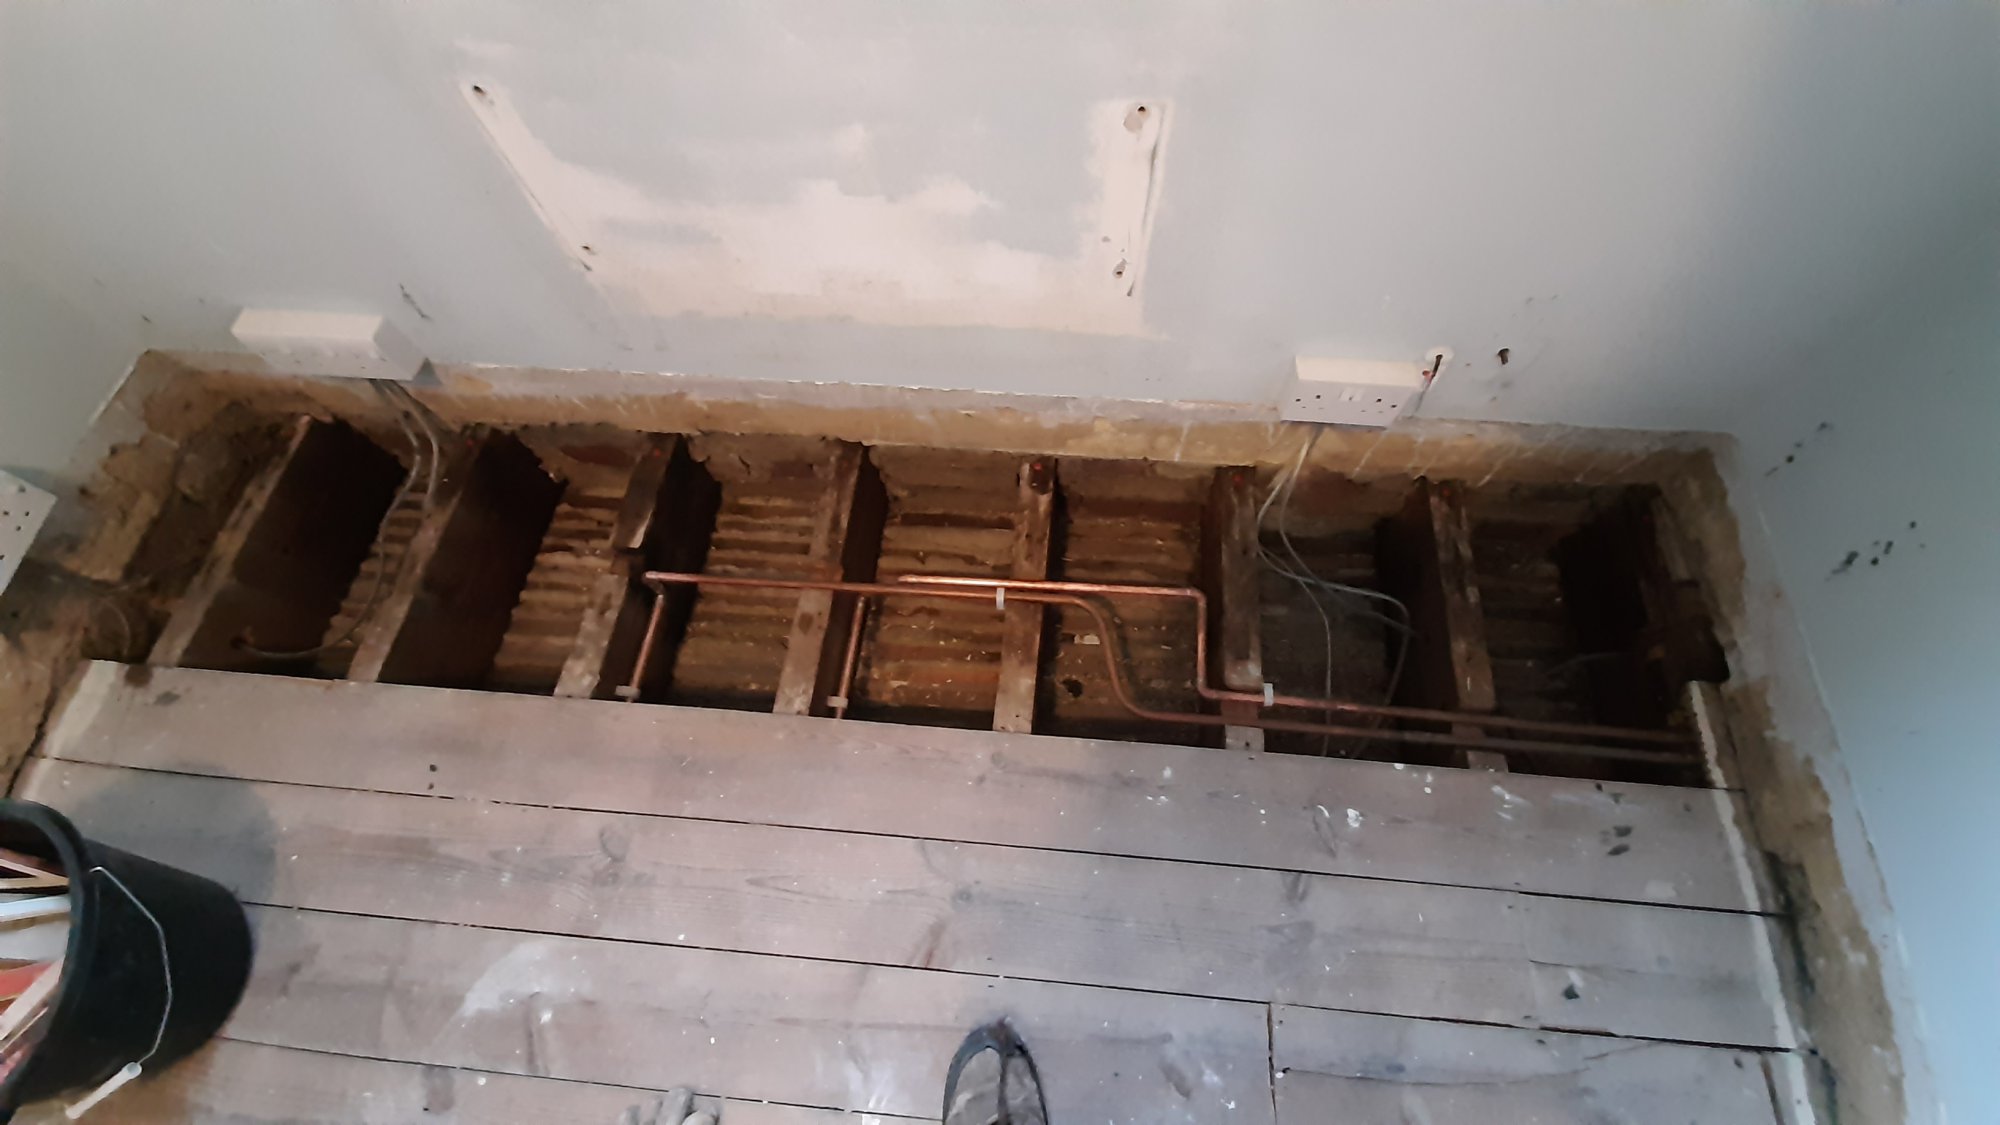
The first job was to get the old radiator removed and the pipework changed to run to the opposite side of the room, behind the door. I’m scared of plumbing for some reason, so this was a job for the professionals, which in London doesn’t come cheap. I lifted the carpet, underlay and a few tactically positioned floorboards. The pipes needed to be diverted under the floorboards to then come up inside the far wall and poke out above skirting board height in the right place for the new radiator.
Strengthen the wall and fit the radiator
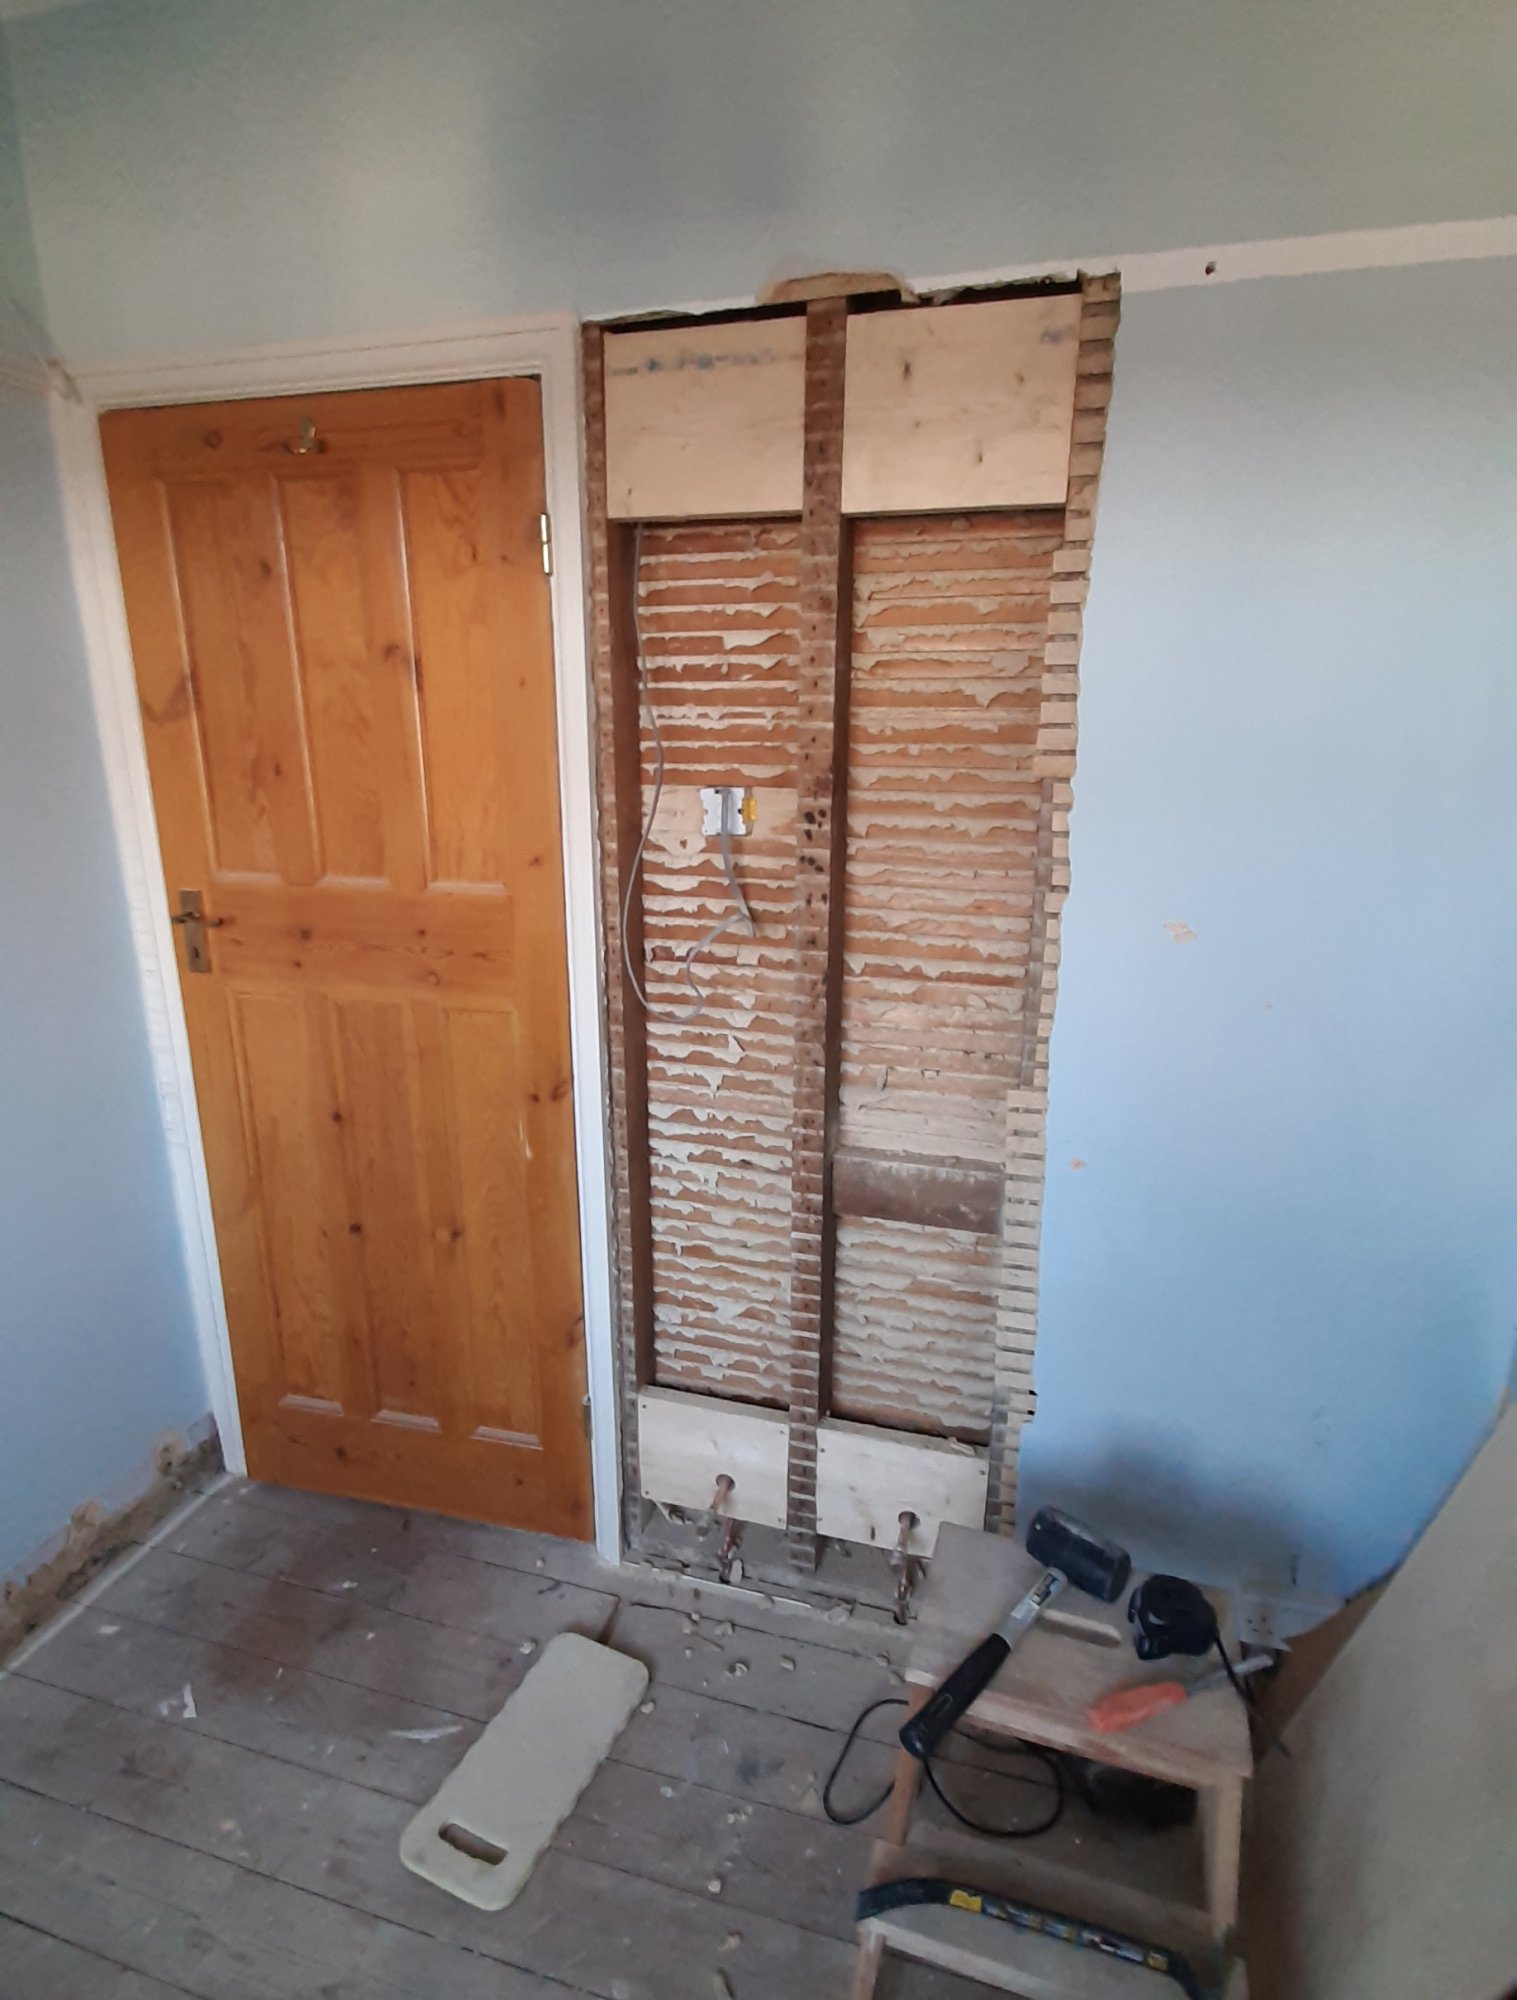
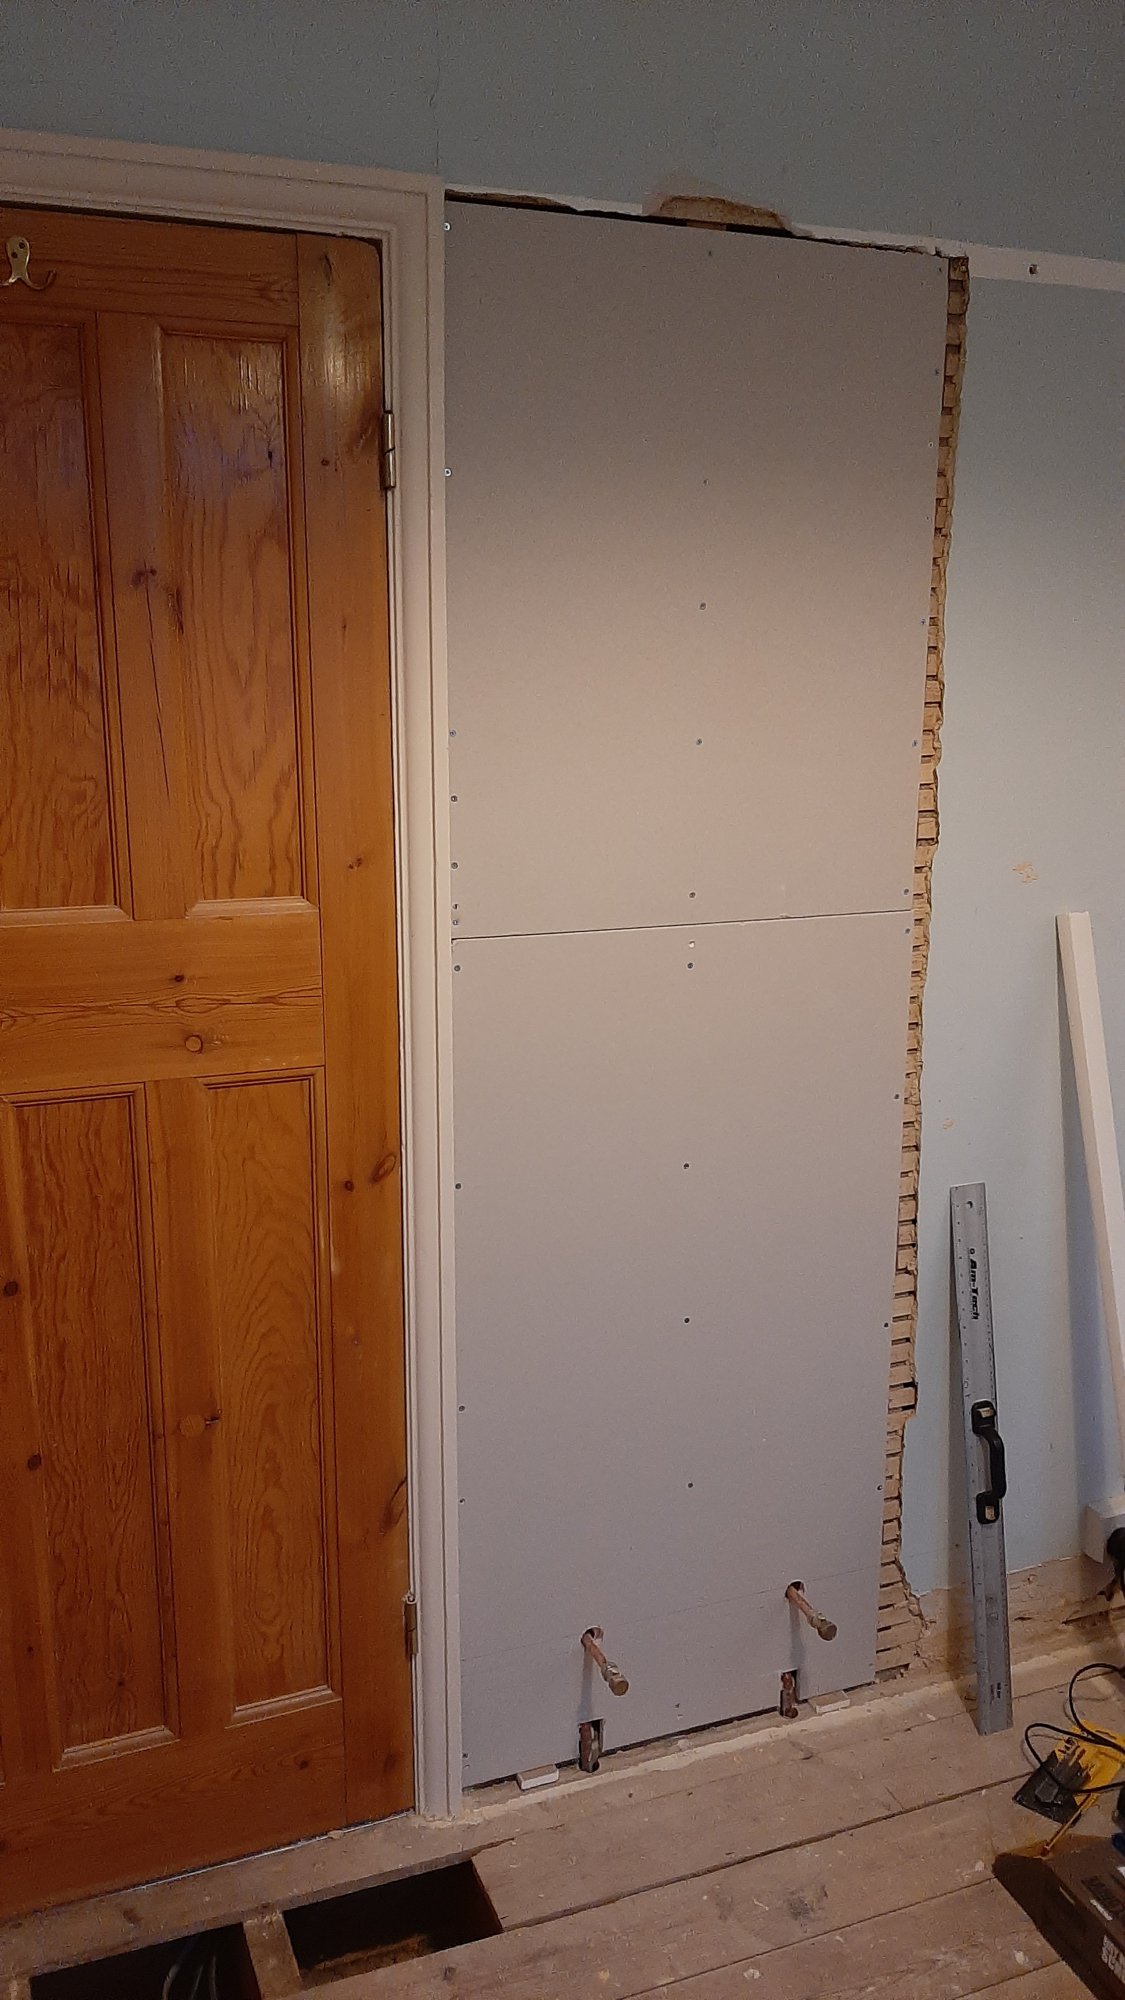
The next challenge is that a column radiator once full of water is very heavy, and a lath-and-plaster wall is never going to hold the weight. To strengthen the wall I ripped off a section of plaster and reinforced the wall with 4 “noggins” (horizontal wood between the studs). I used big 10"x2" timber, both to make sure it was strong enough, and to make sure there was some margin for error when the time came to drive in the radiator fastenings by which time the noggins would be hidden away beneath fresh plaster. You can see in the photo the new pipework emerging through holes cut in the noggins.
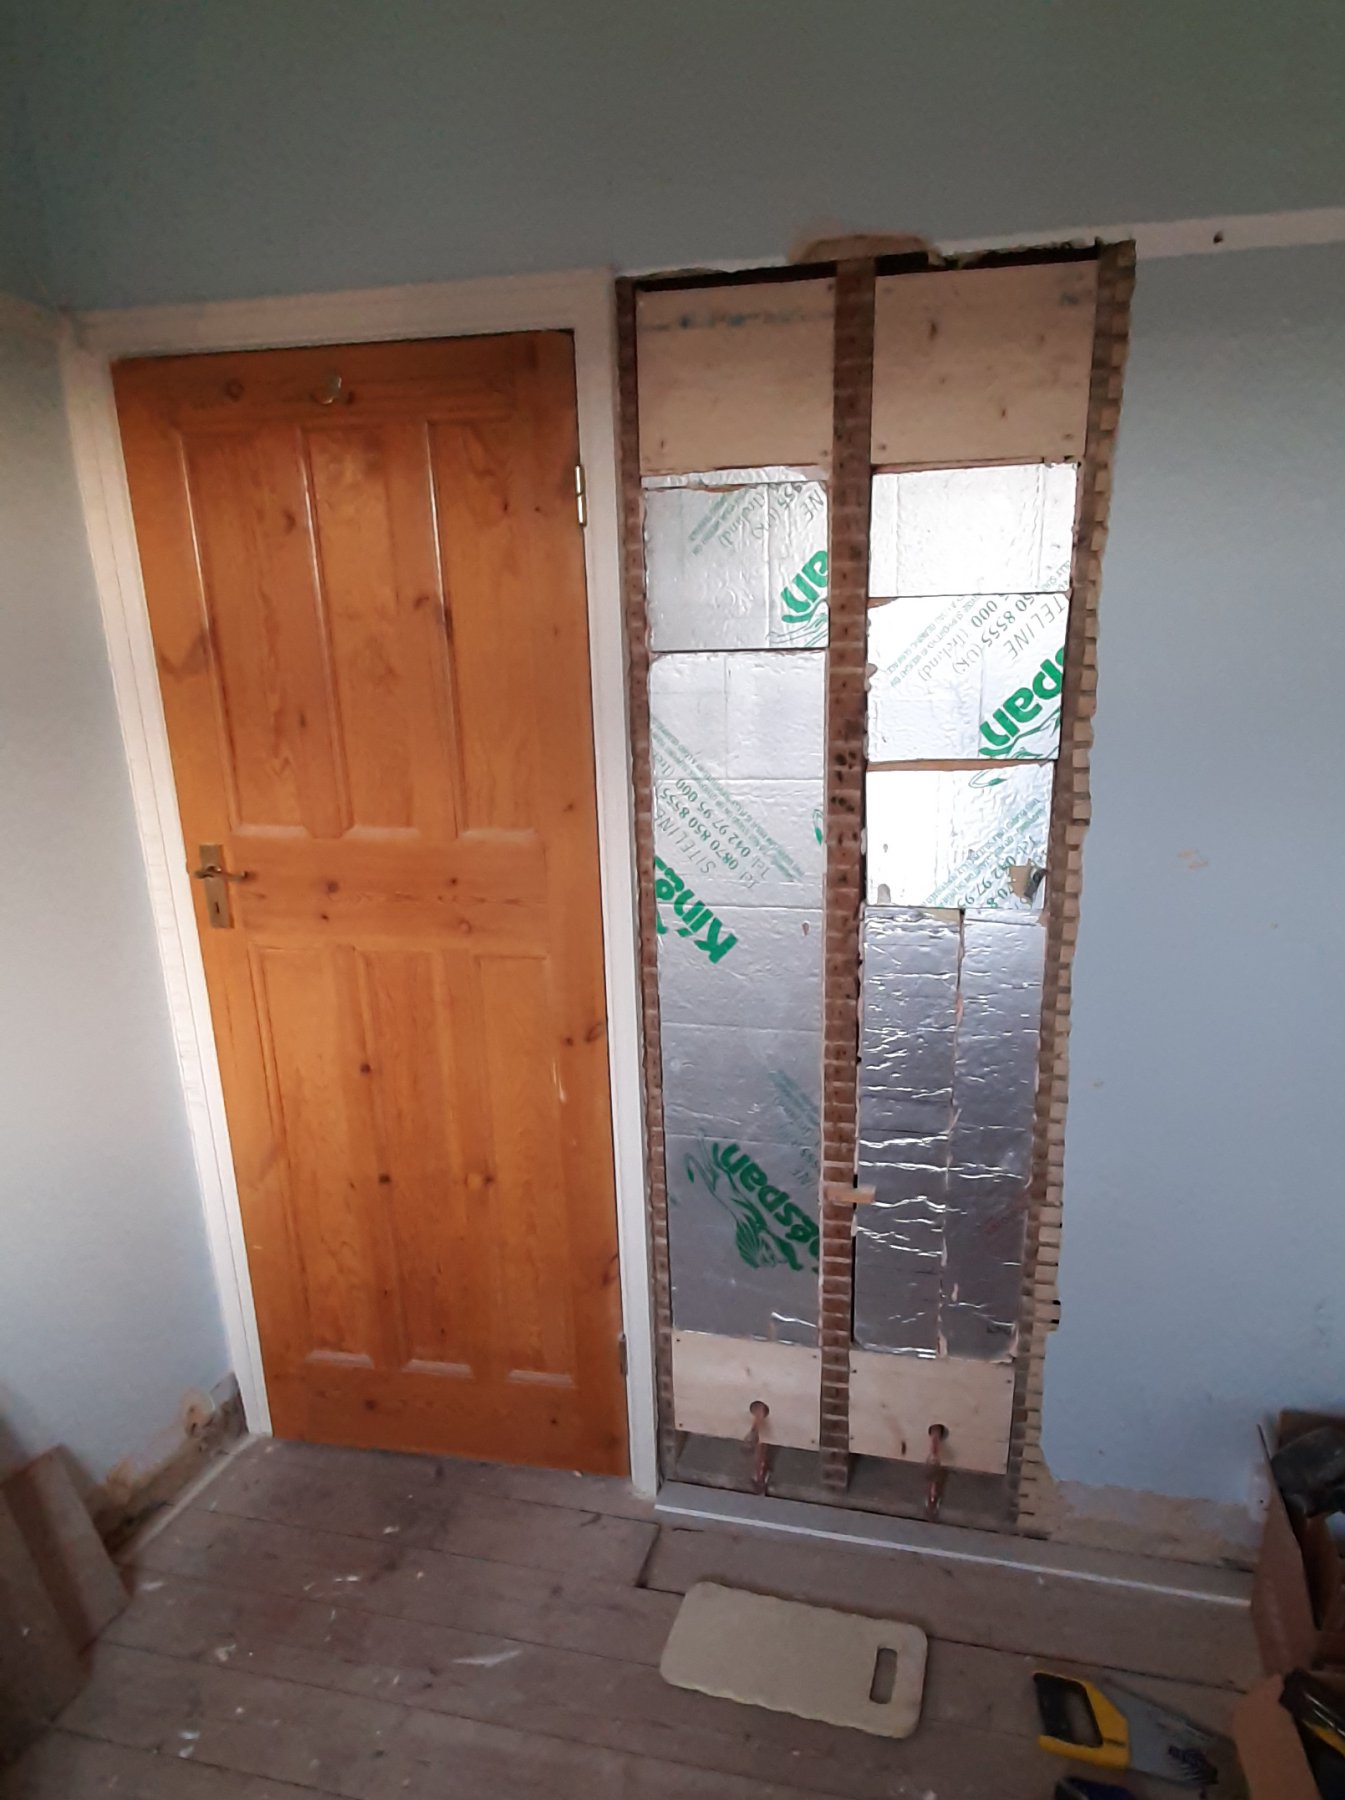
I’d been reminded numerous times by Andy of Sure Insulation to remember to put foil insulation behind the radiator. The problem is that the radiator we chose was a relatively poncy vertical designer job. You can see through it to the wall behind (or any foil behind). Instead of foil, while I had the wall open I fitted 50mm PIR into the wall, mostly using offcuts and scraps1. This will hopefully do a similar job, preventing too much of the heat from the radiator leaking out into the hallway, and also helping the room respond quickly to heat so that we don’t over-heat it.
Once the wall was reinforced and insulated, I overboarded all the damage with plasterboard and then it was skimmed by the plasterer when the whole room was ready.
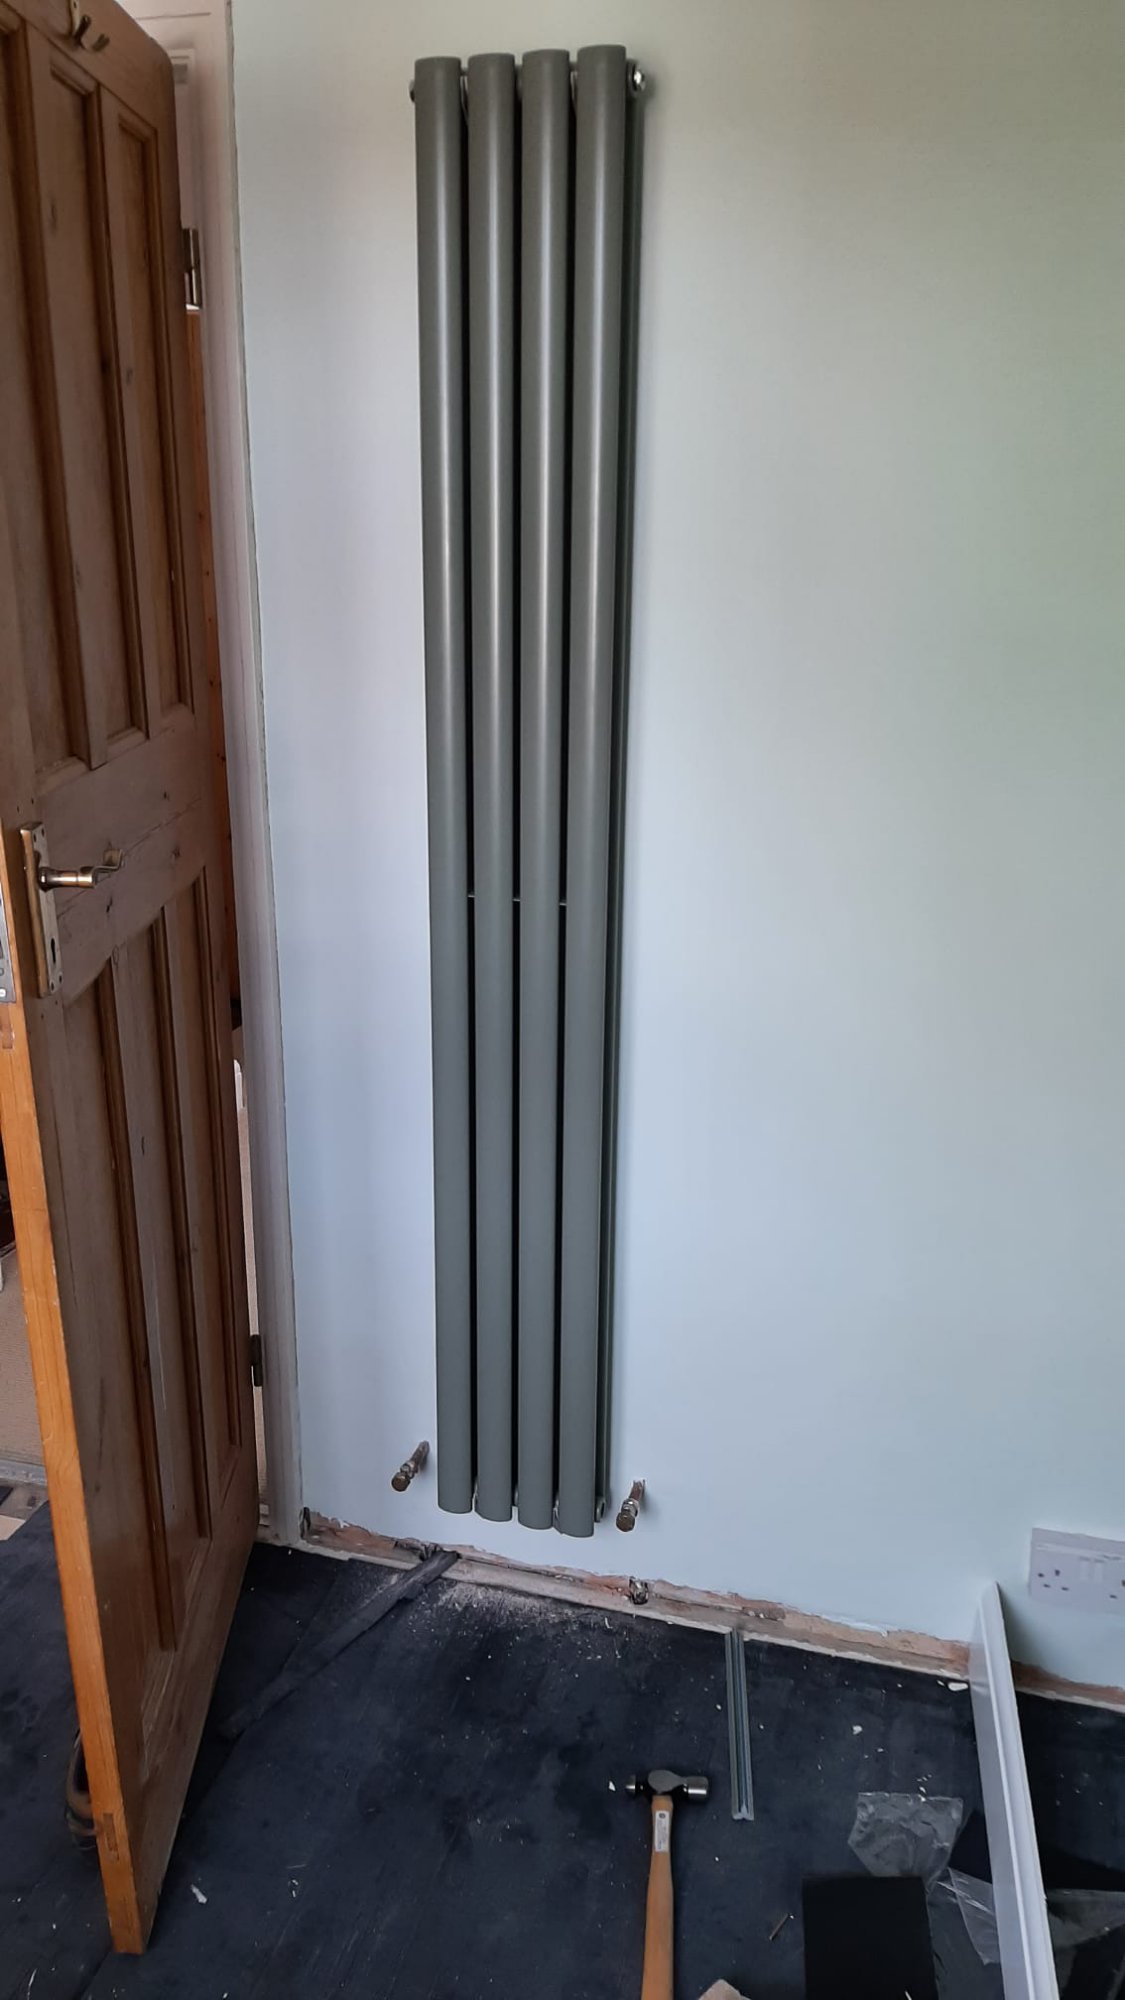
Only once we’d painted could the radiator itself be hung on the wall and then the plumber was called back to connect it up.
The good, the bad, and the really expensive.
In general I’m very pleased with the finished result. It looks smart, matches the room, and seems to work very well. But.. and it’s a big but… it was really expensive. I’m yet to tally the final totals (and I’ll share them when I do), but with the cost of London plumbers, and an expensive vertical radiator, I suspect the radiator move and replacement will end up costing twice as much as the rest of the room’s renovation put together.
For future rooms, we’re strongly considering not moving the radiators (well, only moving them about 15 cm inwards). Then trusting the insulation and a much wider windowsill to do the job. Or, I need to go on a course and learn how to do simple plumbing.
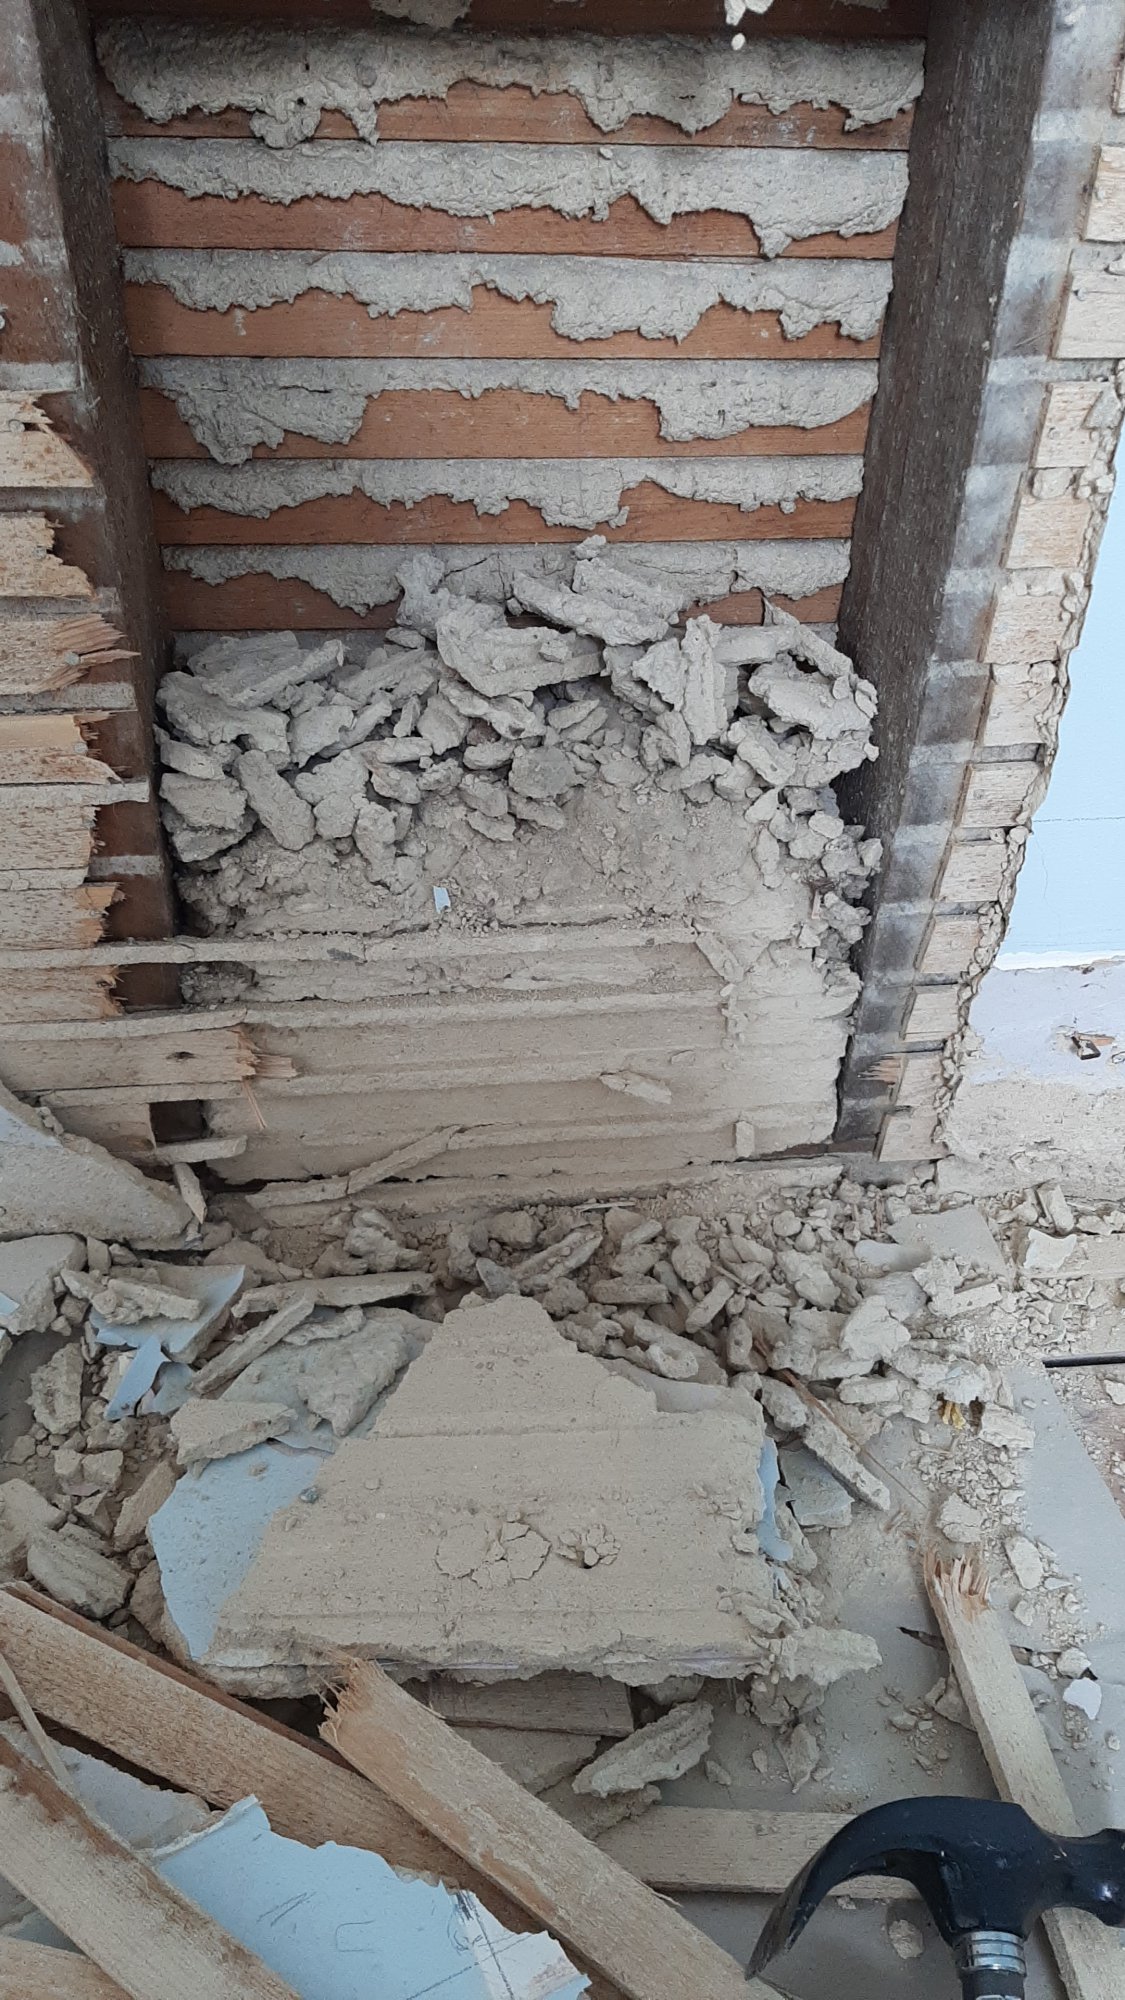
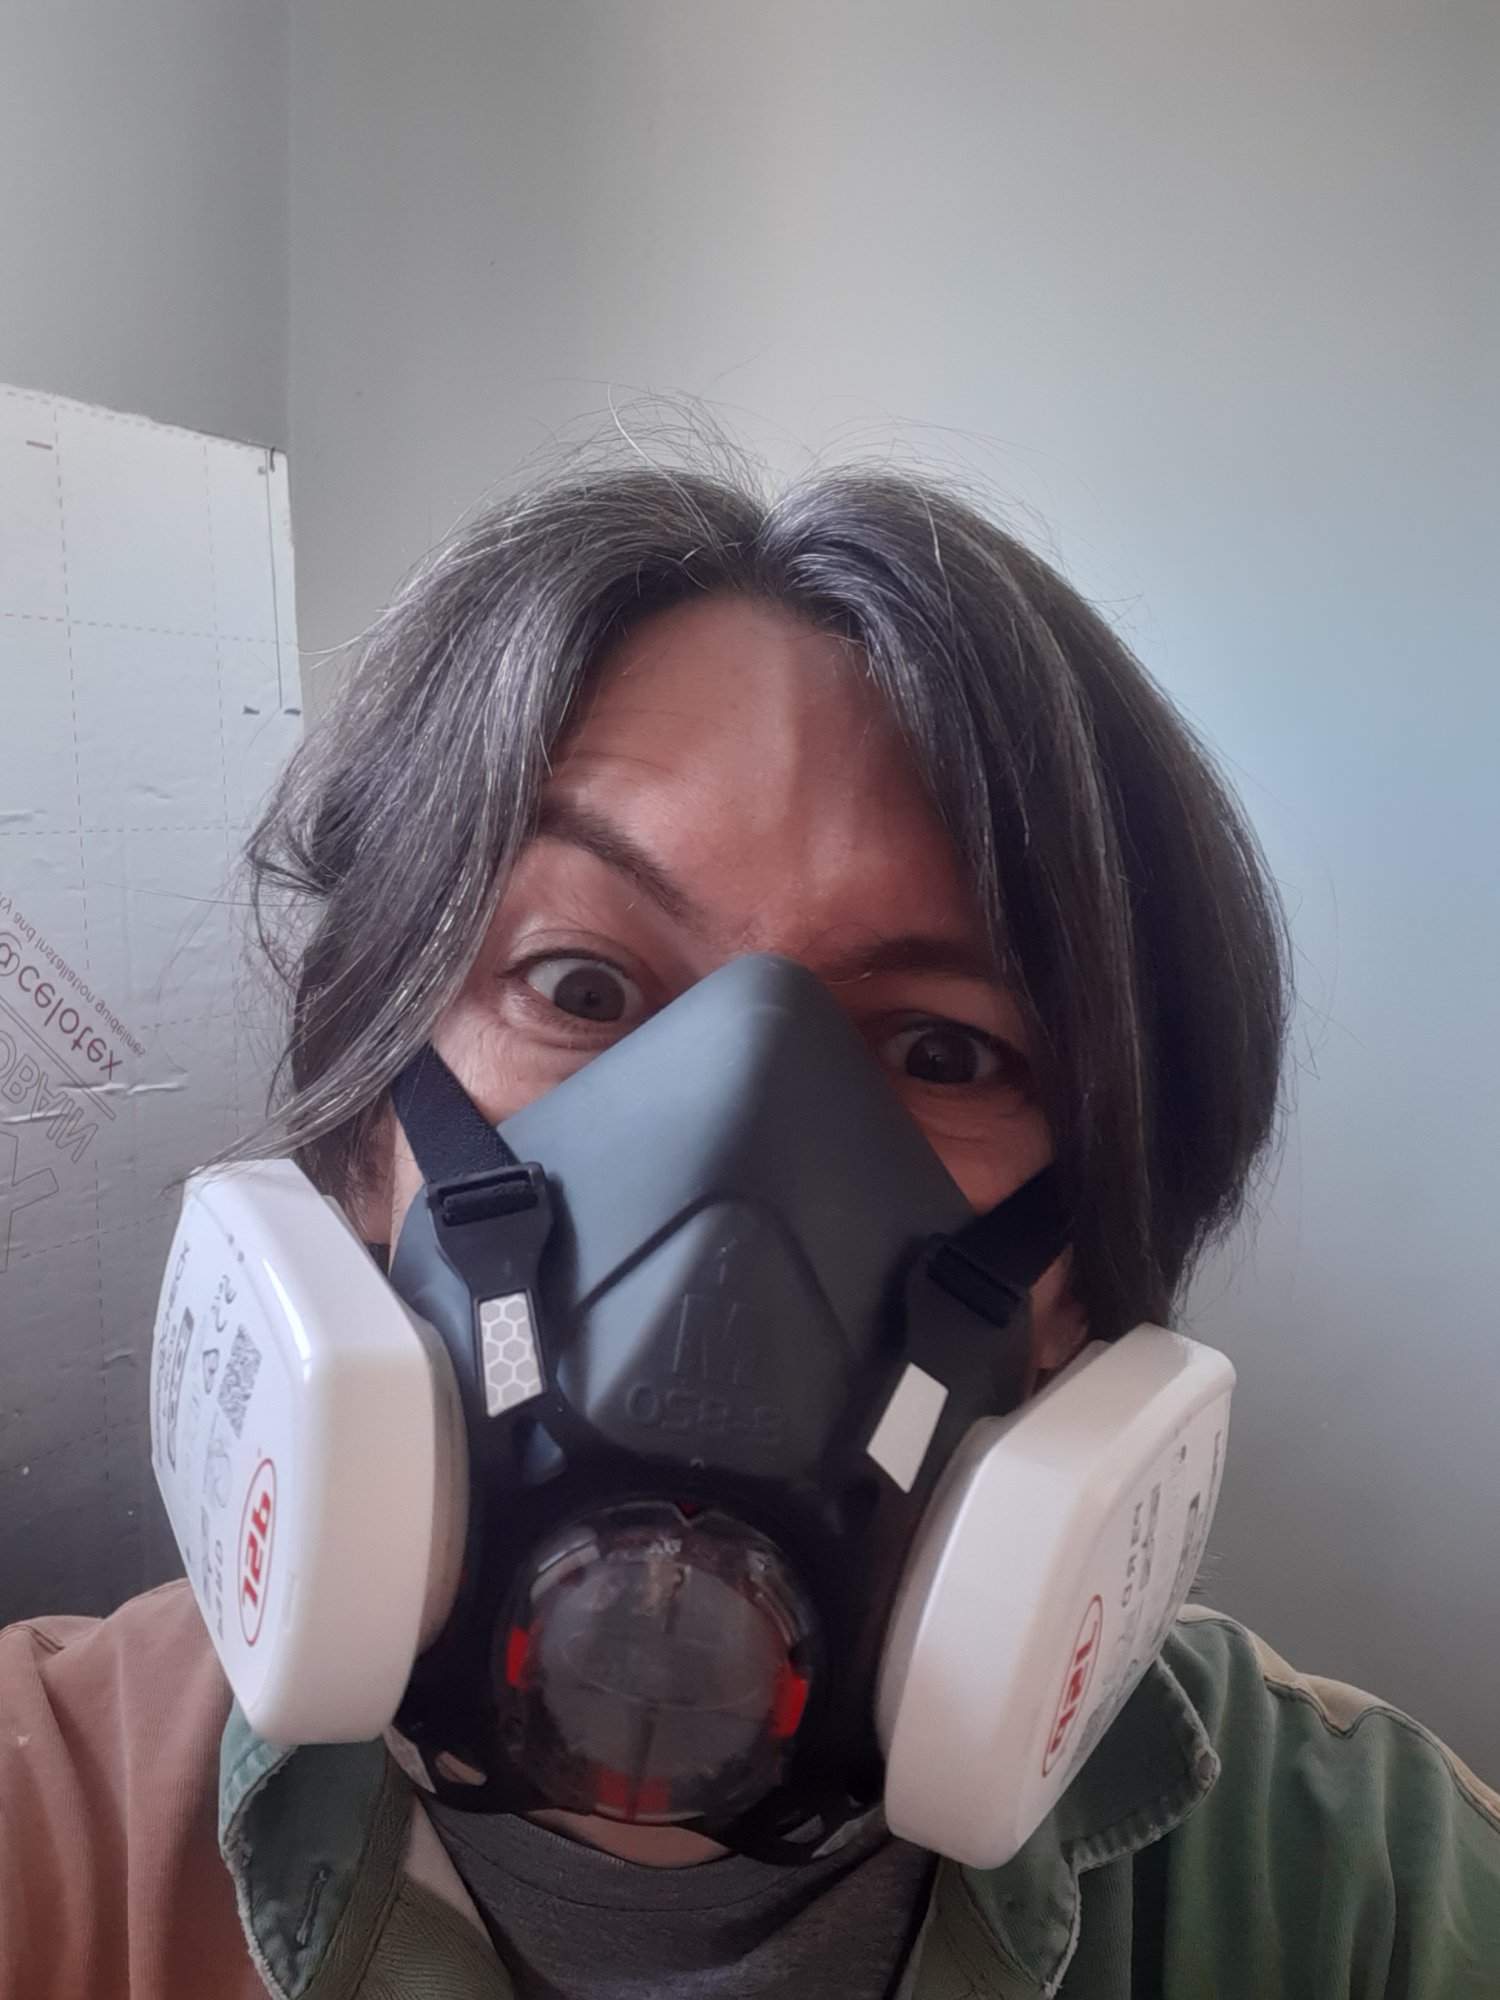
The only other downside was having to rip open the old lath-and-plaster internal wall to strengthen it, which was a messy and time consuming job, but one I was happy enough to have a go at. Just wear a good dust mask.
-
If I get round to it I should write about where I’ve sourced my PIR from so far. ↩︎